

Step-by-Step Guide to UV Lashes
Step-by-Step Guide to Perfect UV Eyelash Extensions in Just a Few Steps
Do you want to offer your clients long, voluminous eyelashes that will enchant their eyes? The UV eyelash extension technique allows you to achieve exactly that. Here’s a detailed guide on how to perform the perfect UV eyelash extension step by step:
Application
-
Cleaning the Natural Lashes: Start by thoroughly cleaning the natural lashes witheyelash shampooormakeup remover padsto remove any dirt or oil.
-
Cleanser and Primer (optional): If needed, apply thecleanserandprimerto optimally prepare the lashes for the extensions.
-
Apply eye pads: Protect your clients’ lower lashes by placingeye padsunder their eyes. Also mark the desired position for lash mapping.
-
Preparing the UV lamp: Position theAyda® UV lampso that the UV light can cure the adhesive bonds. It is recommended to work on one eye at a time and to wearUV gogglesto protect your eyes.
-
Separating the eyelashes: Carefully separate the eyelashes to prepare them for application.
-
Apply eyelash adhesive: Apply an appropriate amountof eyelash adhesive, making sure the drop of adhesive is not exposed to the UV light to prevent premature curing.
-
Apply the extension: Place the eyelash extension on the natural eyelash and hold it in place for the time being.
-
Start curing: Press the foot pedal to start the curing process. This usually takes about 1–3 seconds. Once the adhesive has cured, you can let go and move on to the next eyelash.
Refill
For a refill, eyelash extensions that have grown out are removed withtweezersand replaced with new ones.Complete Removal
To completely remove the eyelash extensions, use ourgel orcream removerfor gentle and effective removal.Distance & Settings for the UV Lamp
Make sure the light is positioned so that the entire edge of one eyelid is fully illuminated. The distance from the lamp is typically 10–20 cm, but may vary depending on ambient light. The angle of the UV lamp can be adjusted as desired to create an optimal working environment.Read more
FAQs: Frequently Asked Questions About the UV Lash System
Since the launch of our LUV System® in 2022, we have truly revolutionized the eyelash industry and taken it by storm. In this blog post, we’ve compiled the most frequently asked questions about the...
Read more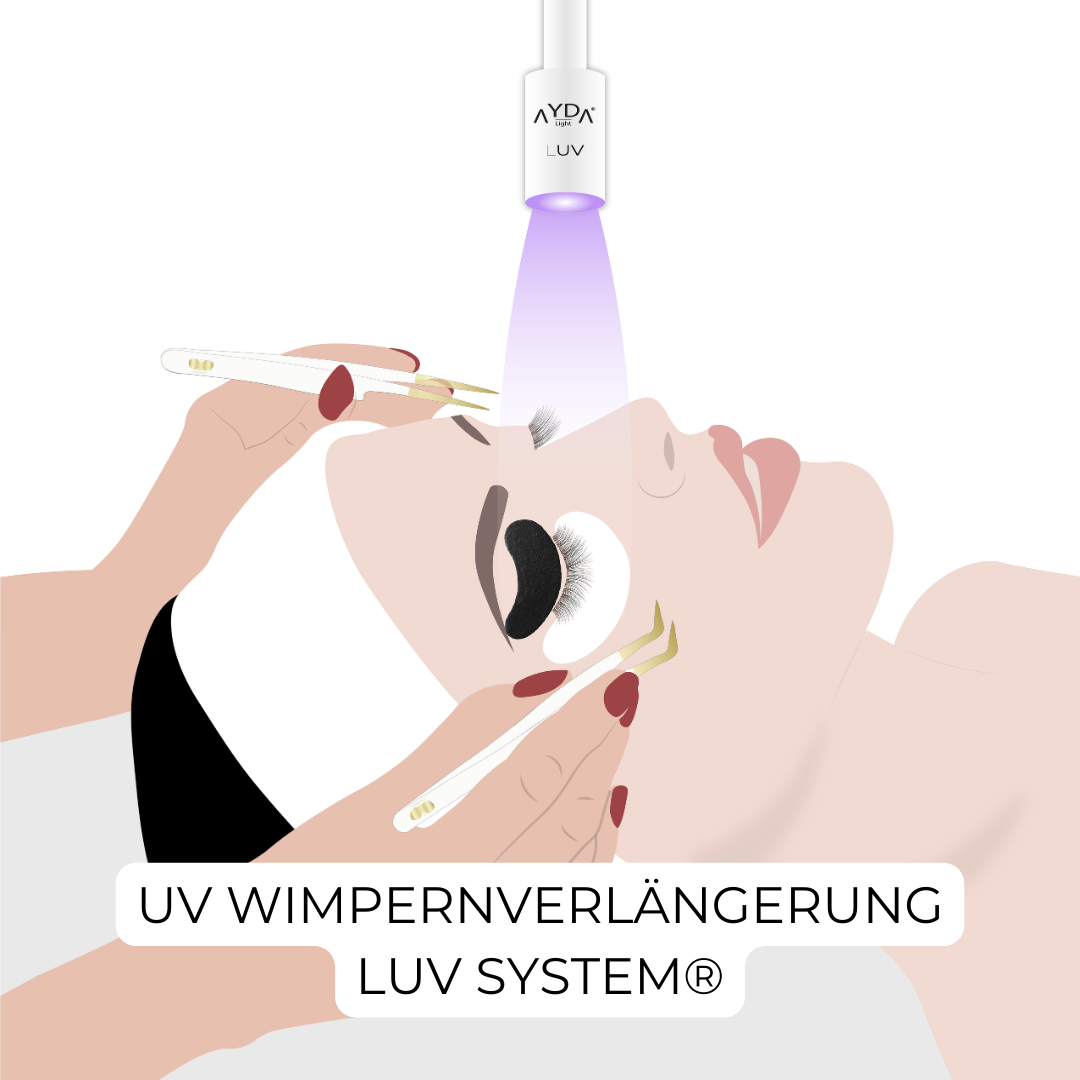
UV Eyelash Extensions LUV System® by CFB Cosmetics
UV eyelash extensions are a groundbreaking revolution in the eyelash industry. We've been working on developing the LUV System® since 2018. Learn more about it here.
Read more