Step by step instructions UV Lashes
Step by step perfect UV eyelash extensions in just a few steps
Would you like to offer your customers long, voluminous lashes that enchant their eyes? The UV eyelash extension technique allows you to achieve just that. Here is a detailed step-by-step guide on how to achieve the perfect UV eyelash extensions:
Application
- Cleaning the natural lashes: Start by thoroughly cleaning the natural lashes with eyelash shampoo or make-up remover pads to remove any dirt or oil.
- Cleanser and primer (optional): Apply the cleanser and primer if required to optimally prepare the lashes for the extension.
- Apply eye pads: Protect your client's lower lashes by applying eye pads under their eyes. Also mark the desired position for lash mapping.
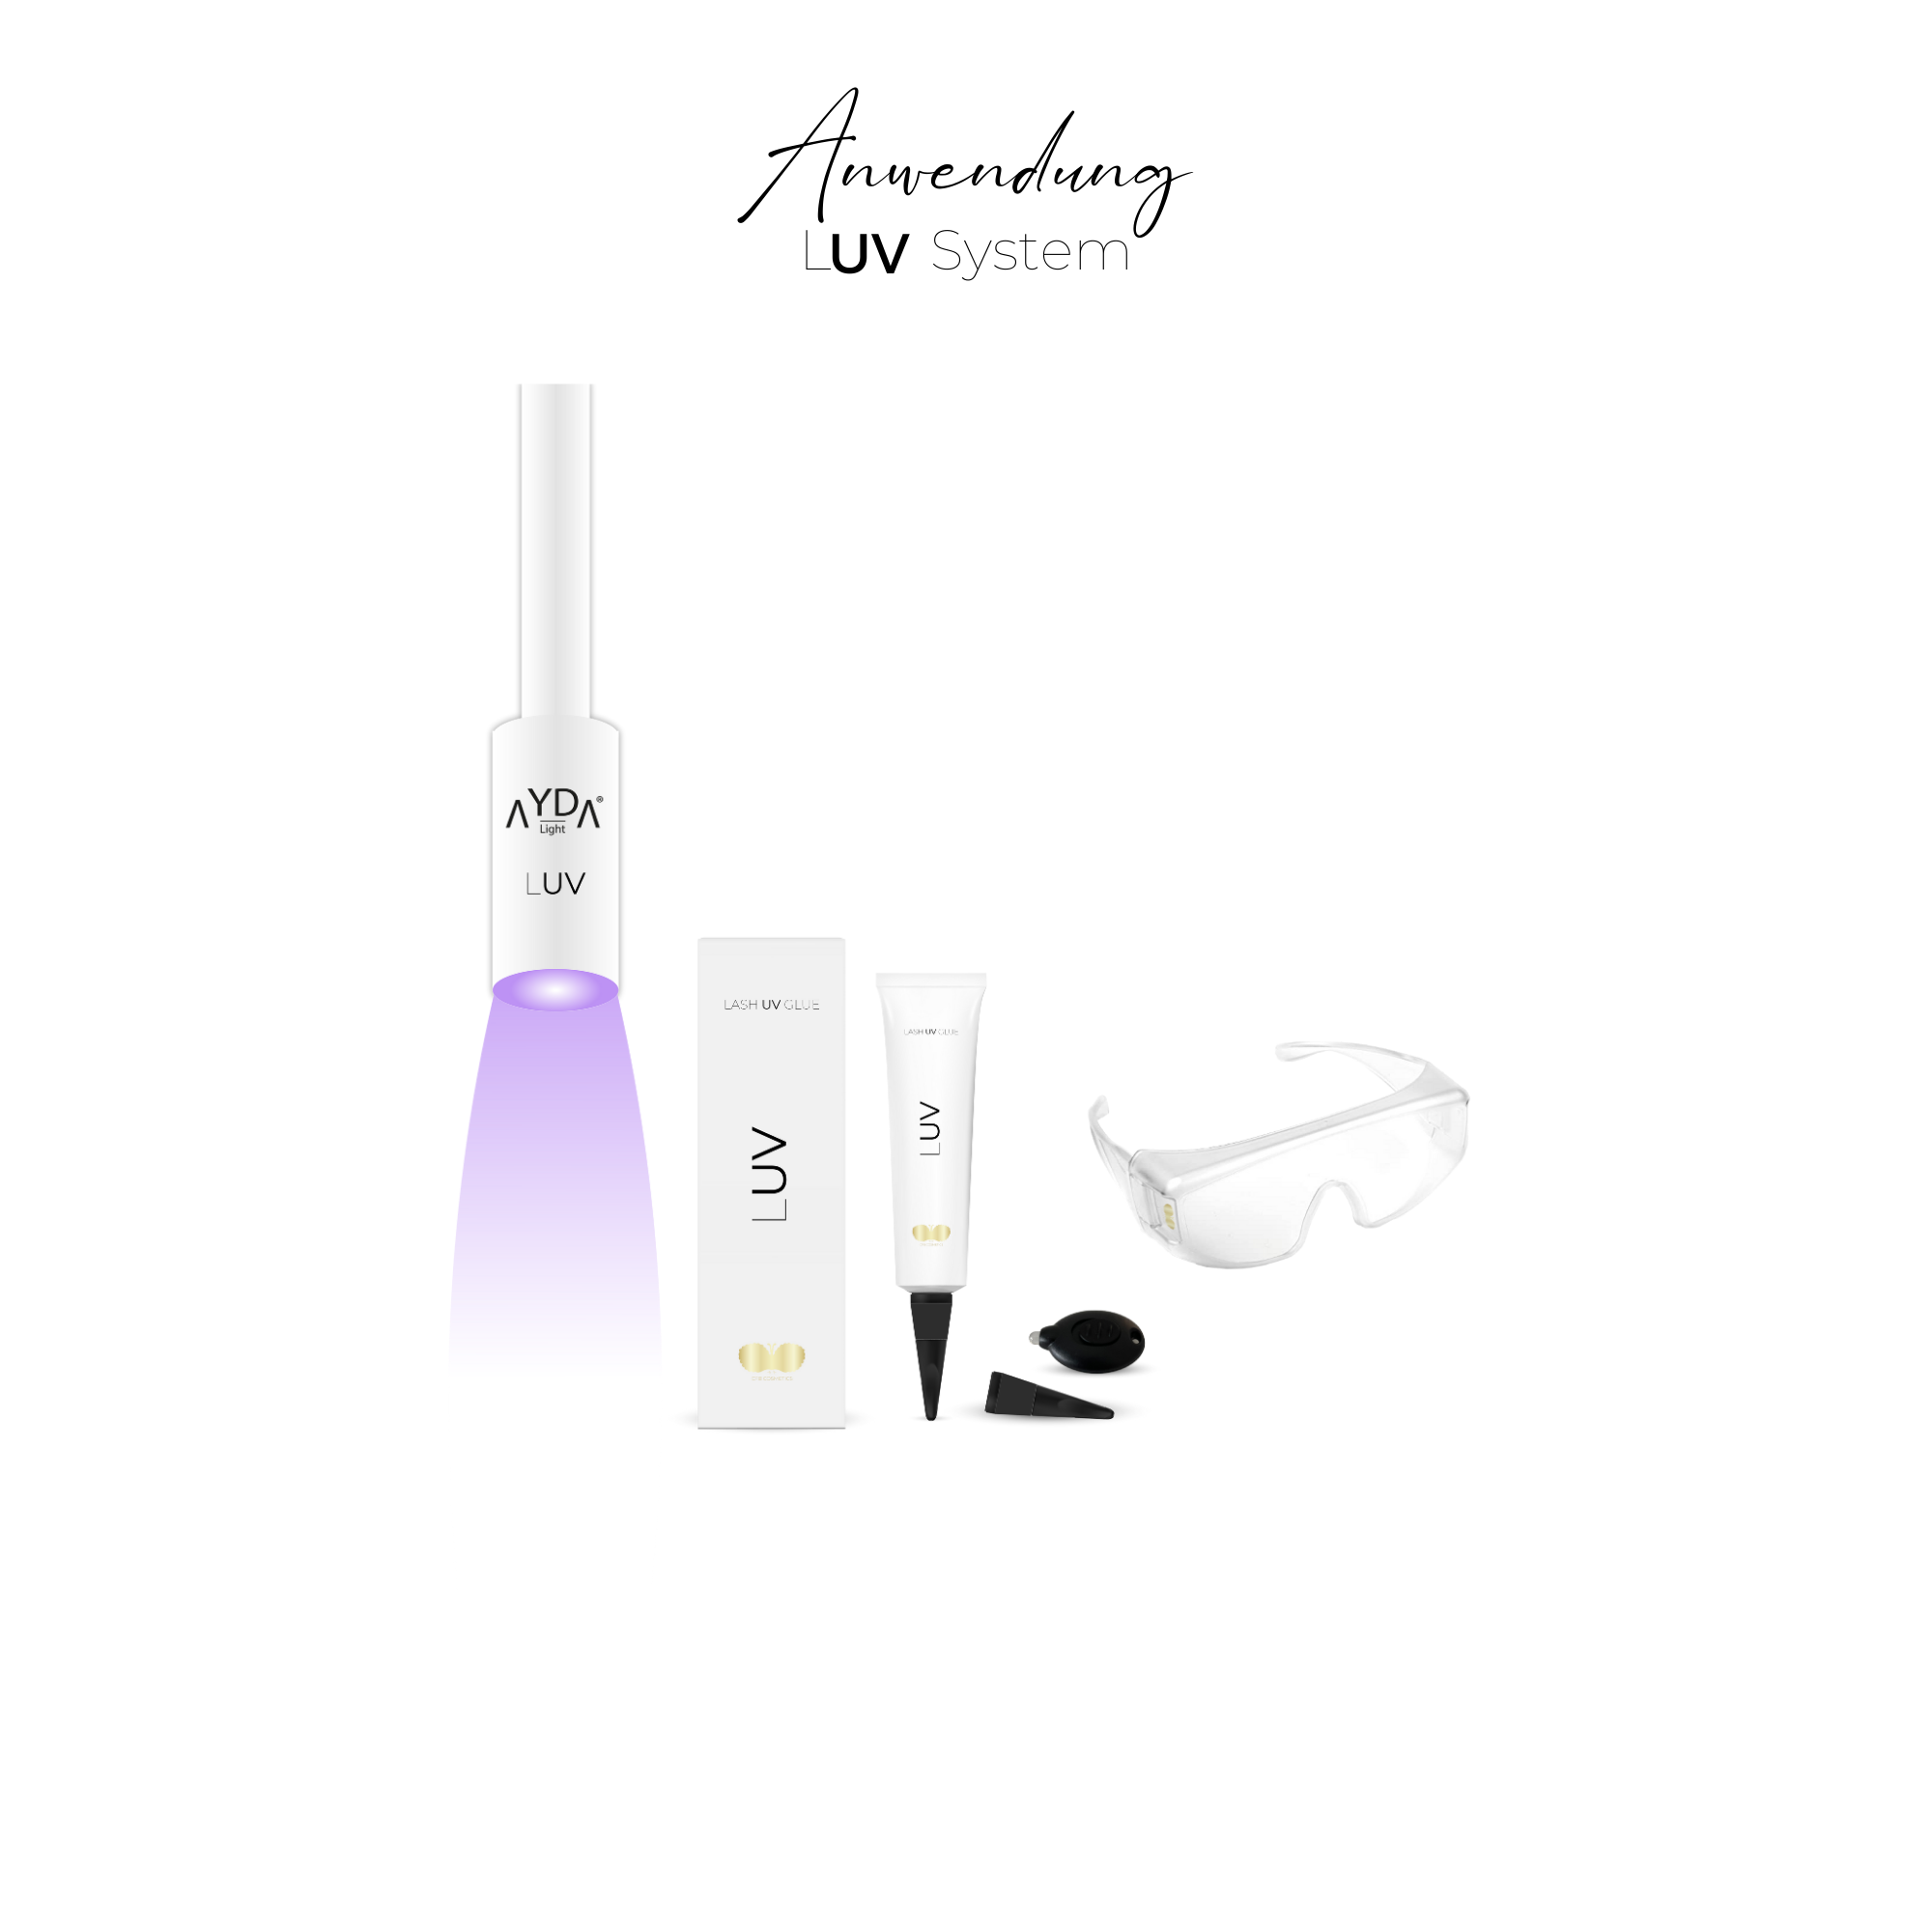
- Preparing the UV lamp: Position the Ayda® UV lamp so that the UV light can cure the adhesive areas. We recommend working on one eye first and wearing UV glasses to protect your eyes.
- Separate the eyelashes: Carefully separate the lashes to prepare them for application.
- Pick up lash glue: Pick up an appropriate amount of lash glue, be careful not to expose the glue droplet to UV light to prevent premature curing.
- Apply extension: Place the lash extension on the natural lash and hold it in place for the time being.
- Start curing: Press the foot pedal to start the curing process. This usually takes around 1-3 seconds. Once the glue has cured, you can let go and move on to the next lash.


